Mexican Chocolate Cookies
Ingredients
- 1/2 cup flour
- 3/4 cup quality dutch-process unsweetened cocoa (Hershey’s unsweet cocoa does just fine)
- 3/4 tsp ground cinnamon
- 1/2-3/4 tsp. ground cayenne pepper (I use 3/4. I like the spice!)
- 1/4 tsp salt
- 1/4 tsp freshly ground black pepper
- 1 cup sugar
- 1 1/2 tsp vanilla extract
- 1 egg
- 12 tbsp butter, cut into small pieces
- Wax paper (get the thick, nice kind)
Instructions
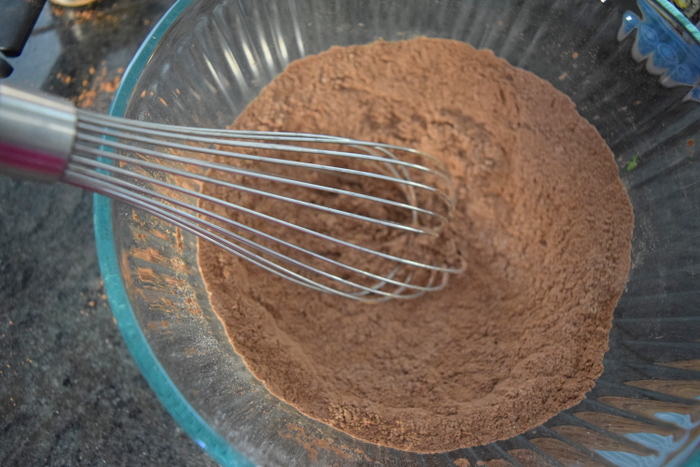
Whisk flour, cocoa, cinnamon, cayenne, salt, and pepper together in a medium bowl and set aside.
If that’s not a beautiful sight, I don’t know what is.
Whisking is my favorite task in the kitchen.
Put sugar, vanilla, and egg into a large bowl and beat with an electric mixer on high speed until thick and pale, about three minutes.
Add the butter and continue to beat on high speed until smooth, about 3 minutes more.
Using your fingers, work flour mixture into butter mixture until it is just combined.
You will end up with chocolate all over your hands. If you lick it off, no one will judge.
Divide dough in half on two sheets of wax paper.
Roll each half into a 9-inch log.
This is kind of a trick. I recommend using a spatula to smash it out to the right length and using your hands on the outside of the wax paper to form the log shape.
Roll it up and twist ends tightly to make a uniform cylinder.
If you care that your cookies are perfect looking, then you’ll want these to be smooth and uniform as possible.
Freeze dough logs for 8 hours/overnight.
Slice logs into rounds about 1/3″ thick.
Lay them out on a baking sheet about an inch apart.
Bake at 350 until little cracks appear on the surface, which is about 8 minutes.
When you take them out of the oven, give them a minute or so on the baking sheet to harden a little bit. Then they slide right off onto the cooling rack.
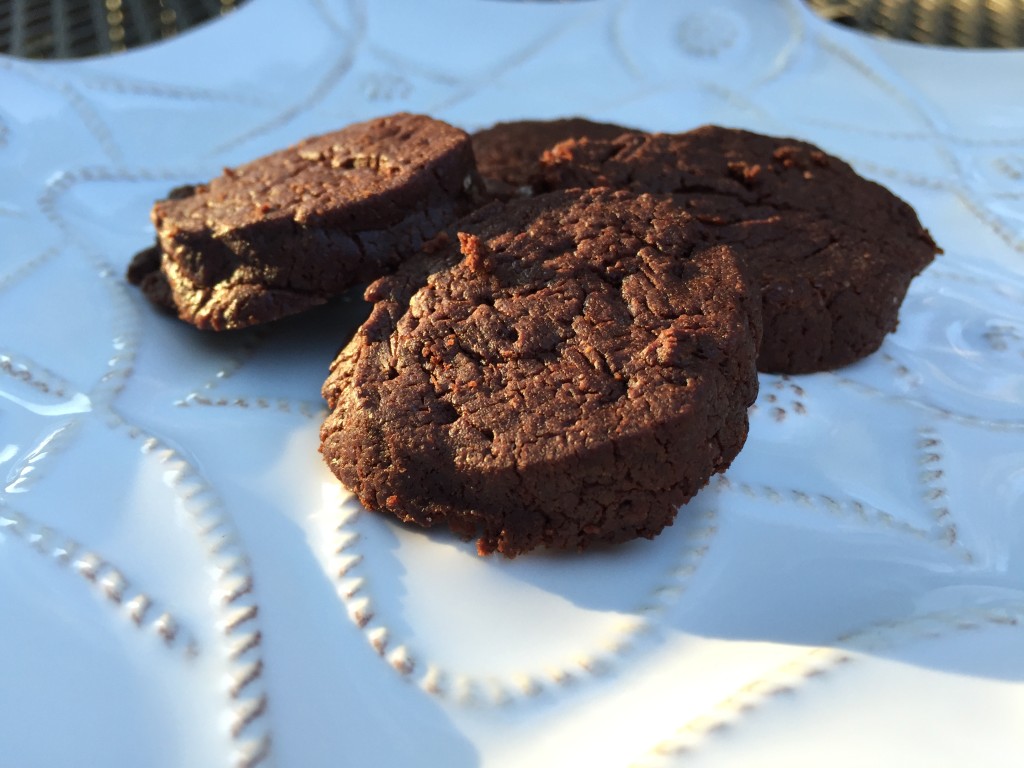
Let them cool and then serve them up on a plate as an appetizer, after dinner treat, or, midnight snack!
Enjoy!
PS. These aren’t the easiest cookies to make, but they are worth it.
Instructions (Condensed)
- Whisk flour, cocoa, cinnamon, cayenne, salt, and pepper together in a medium bowl and set aside.
- Put sugar, vanilla, and egg into a large bowl and beat with an electric mixer on high speed until thick and pale, about three minutes. Add the butter and continue to beat on high speed until smooth, about 3 minutes more.
- Using your fingers, work flour mixture into butter mixture until it is just combined. You will end up with chocolate all over your hands. If you lick it off, I won’t tell anyone.
- Divide dough in half and roll each half into a 9-inch log. No comment on what this now looks like.
- Wrap in wax paper, twisting ends tightly to make a uniform cylinder. If you care that your cookies are perfect looking, then you’ll want these to be smooth and uniform as possible.
- Freeze dough logs for 8 hours/overnight.
- Slice logs into rounds about 1/3″ thick.
- Bake at 350 until little cracks appear on the surface, which is about 8 minutes. Resist the urge to put the melting chocolate in your mouth–or don’t–and let them cool on a rack.
Enjoy! I have no doubt you will. The cayenne pepper brings out the rich flavor of dark chocolate. Yum.


